|
You are here : Sub Contracting > Sub Contracting Maintenance >Indent Entry Indent Entry
|
Through this option you can raise and maintain Indents for Sub Contracting jobs.
Please note that although you can raise a Gate Pass independently of Indent, but a processed material can not be received from the Vendor without the corresponding Indent details. Therefore it is compulsory to raise an Indent in this module.
As we already know that IMMS provides sub contracting for both, ‘made for order’ and ‘made for stock’ kind of items so it also allows to raise Indent accordingly. Indents can be raised against both Work Orders as well as against a Product Structure of an Item.
Against a Work Order, IMMS allows to raise Indent for partial quantity of a Work Order and keeps track of pending quantity of Work Order quantity that can be raised further.
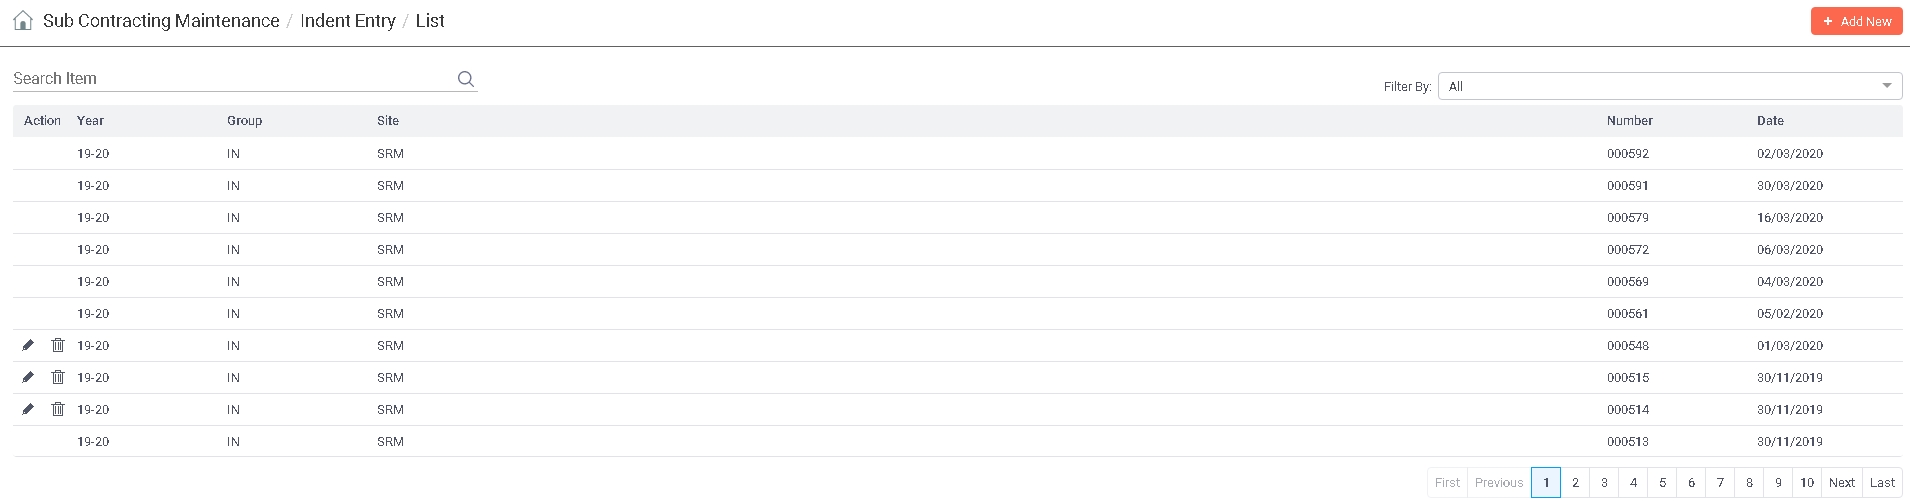
A list of existing Indents will be displayed as follows -
Enter any text you want to search in the list below. The search is applicable to all columns of the list. Once the text is entered, press <ENTER> key. As a result, the list will be refreshed with all those records that contain the entered text fully or partially. In order to go back to the original list, remove the text from the box and press <ENTER> key again.
IMMS provides the facility to filter the records on the basis of their status. Click on the field and select either 'All', 'Authorized' or 'Pending for Authorization'. Selecting 'All' will display all records, authorized as well as unauthorized. Selecting 'Authorized' will display only authorized records. Selecting 'Pending for Authorization' will display only those records that are yet to be authorized.
|
Once an Indent is generated, it may or may not need to be authorized.
Authorization of Indent is a flag driven option. Therefore its availability depends upon the setting of the 'Authorization Required' flag through Document Control Master option
 in Administrator Tools Module. in Administrator Tools Module.  Read more... Read more... |
 Indents can be added, edited, deleted and viewed provided the Role associated with the currently logged-in user through User Management has the respective rights to do so.
To 'Add' an Indent, click on the  button and to 'Edit', click on the
  icon on its corresponding record. Click on the
  icon to delete a particular Indent. To view details of a particular Indent, <DoubleClick> on that record. As a result, following screen will be displayed -

Specify the Indent details as follows -
Year:
Specifies the year of Indent.
While 'Adding', the current financial year will be displayed by default. You can not change it.
In case of 'Edit', and 'View', financial year will be displayed automatically for the selected record. It can not be changed.
Group:
Specify the Group of the Indent.
While 'Adding', please note that the Group which has been specified as default for the selected financial year through Document Control Master
You can change it by clicking on the field to access a list of already defined Indent Groups for the entered Year though Document Control Master option in Administrator Tools Module. Select your desired Group from the list by scrolling down to it and pressing <ENTER>. Alternatively you can also enter the Group.
In case of 'Edit', and 'View', Group will be displayed automatically for the selected record. It can not be changed.
Site:
Specify the Site of the Indent.
While 'Adding', the Site if any specified with the selected Group
Click on the field to access a list of already defined Sites. Select your desired Site from the list by scrolling down to it and pressing <ENTER>. Alternatively you can also enter the Site.
In case of 'Edit', and 'View', Site will be displayed automatically for the selected record. It can not be changed.
Number:
(Type : Alphanumeric, Length : 6)
While 'Adding', Indent Number is either generated automatically or entered manually by the user.
In case of 'Edit', and 'View', Number will be displayed automatically for the selected record. It can not be changed.
Date:
Specifies the date of Indent.
While 'Adding' a new Indent, enter the Date of Indent. By default today's date is displayed. It should fall between the current period start date and current period end date. Press <TAB>.
In case of 'Edit', and 'View', Indent Date will be displayed automatically as per the selected Indent Number. You can not change it.
Click on  button to continue.

While 'Adding' a new Indent, the grid will be displayed empty.
In case of 'Edit', and 'View', this grid will be populated with Items belonging to the selected Indent Number along with their delivery schedule.
Click on the  button to add a new Item in the grid. A new row will be added
as a result.
button to add a new Item in the grid. A new row will be added
as a result.
Field Description of the grid -
Action
Click onClick on the
Sr. No:
Sequential number generated automatically.
Work Order No:
If you want to make Indent against the Product
Structure, please leave this field blank.
Click on the field if you want to make Indent against a Work Order. A list of open Work Order Numbers will be displayed. Select your desired Work Order Number from the list by scrolling down to it and pressing <ENTER>. Press <TAB>.
Please note that since IMMS allows to raise Indent for partial quantity of a Work Order, only those Work Orders will be accepted that have some pending quantity against which Indent can be raised.
SJO No:
If you want to make Indent against the Product
Structure, please leave this field blank.
Click on the field to access a list of Sales Job Orders for which the selected Work Order Number has been generated. Select your desired SJO Number from the list by scrolling down to it and pressing <ENTER>. Press <TAB>.
POS No:
Displays the Position Number of the Operation of the selected SJO Number.
Item Code:
In case the Indent is being made against a Work Order, this field will display the Parent Item Code of the selected Work Order. You can not change it.
If you want to make Indent against the Product
Structure, then click on  icon to access a list of Parent Items.
Select your desired Parent Item from the list by scrolling down to it
click on 'Continue' button. Press <TAB>.
icon to access a list of Parent Items.
Select your desired Parent Item from the list by scrolling down to it
click on 'Continue' button. Press <TAB>.
Please note that only those Parent Items will be accepted which fulfill the following conditions -
- Parent Items for which Product Structure has been made through Product Structure Master - Entry and frozen through Freeze Product Structure options of Materials Module.
- The Parent Item should have a Process Sheet having single Outside Operation defined through Process Sheet Master option of Materials Module.
Item Name:
Description of the Parent Item is displayed automatically as per the Parent Item Code.
Opr. No.:
In case the Indent is against the Product Structure, this field will automatically display the 'Outside' Operation Number of the selected Item specified through Process Sheet Master option of Materials Module.
In case the Indent is against a Work Order, this field will automatically display the Operation Number mentioned in the selected Work Order for the selected SJO Number through Work Order Maintenance option of Planning Module.
Opr Code:
In case the Indent is against the Product Structure, this field will automatically display the 'Outside' Operation Code of the selected Item specified through Process Sheet Master option of Materials Module.
In case the Indent is against a Work Order, this field will automatically display the Operation Code mentioned in the selected Work Order for the selected SJO Number through Work Order Maintenance option of Planning Module.
IUOM:
Automatically displays the Internal Unit of Measurement of the Item for your reference.
Max WO Qty:
In case the Indent is being made against a Work Order, this field displays the maximum quantity of the Work Order that can be specified in this Indent.
If the Indent is being created for the first time against a Work Order, this field displays the quantity of Work Order that was specified while creating the Work Order for the Parent Item. Please recall that the Work Order is created through Work Order Maintenance option of Planning Module. If one or more Indents have already been created against the Work Order, than this field will display the pending quantity of Work Order.
In case the Indent is being made against a Product Structure, this field will display zero.
Quantity:
Denotes the Indent Quantity for the Item
You can not enter value in this field. It is calculated and displayed automatically as sum of all quantities entered for the Delivery Schedule of the current Item.
Vendor:
Specify the default Vendor associated with the Operation to be performed on the Parent Item.
Click on the icon on the field to access the default Vendor defined through Item
Vendor Labour Master Entry option in Purchase
Module. Select the Vendor and click on 'Continue' button. Press <TAB>.
Please note that only those Vendors will be displayed/accepted against which Labour Rate Contract has been raised for the selected Item through Labour Rate Contract Entry option of Purchase Module and those Labour Rate Contracts should be authorized and Final Print out taken.
Vendor Name:
Name of the Vendor is displayed automatically as per the selected Vendor Code.
Remark:
Enter Remarks if any related to the Parent Item.
While 'Adding' a new Indent, enter Remarks if any related to the Indent.
In case of 'Edit', and 'View' , Remarks will be displayed automatically as per the selected Indent Number.

Click on the  button to upload all the attached Files.
Once you have entered all the information related to the Indent, click on 'Save' button to save it or 'Cancel' to discard. The control will go back to the list.
 button to finally authorize the selected records.
 button to add a new Delivery Schedule in the grid. A new row will be added
as a result.
button to add a new Delivery Schedule in the grid. A new row will be added
as a result. icon to remove a record from the list. Click on the 'Delete' icon again to un-delete the record.